Air testing is easier to plan when the air barrier is treated as a construction detail that has to survive every trade, not a last-day sealing exercise.
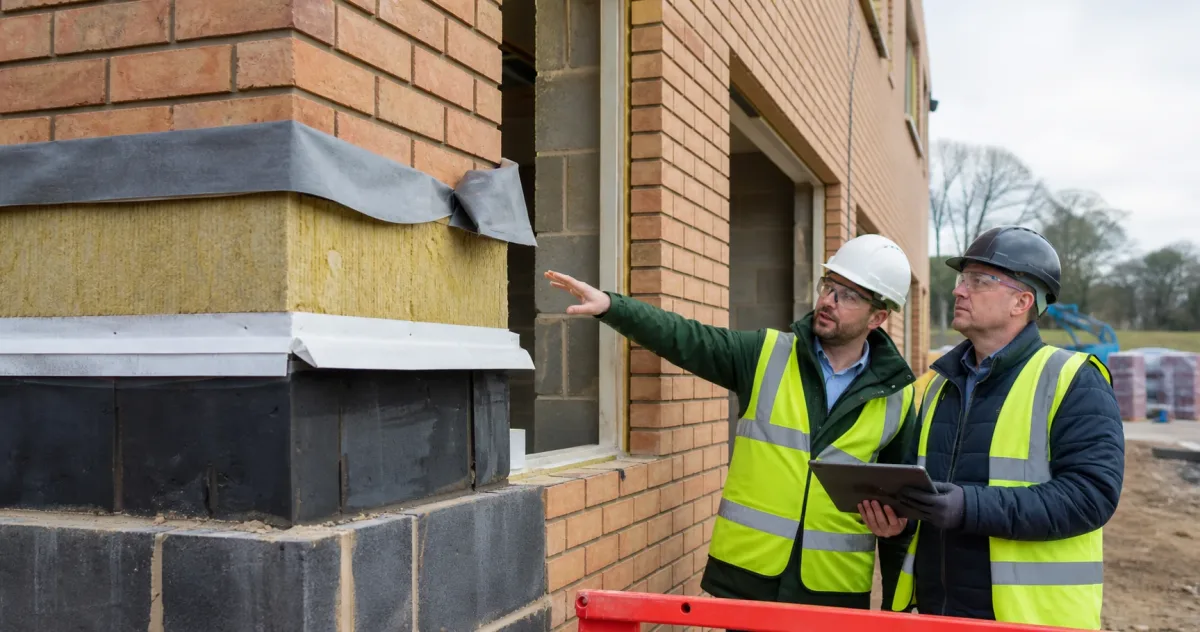
Air permeability affects more than the test appointment. The final result needs to match the project route, calculation inputs and completion evidence. Start by making the line of the air barrier visible on the drawings. Then give every trade a clear way to protect it as services, linings, kitchens and finishes are installed.
Set the test route before work is covered
Confirm the dwelling or plot reference, the design air-permeability assumption, the building-control route and the information the tester will need. A booking made without those basics can leave the site team preparing the wrong unit or working to an outdated drawing revision.
The applicable Approved Document depends on the project and transition route. Check the current document and assessment brief before relying on a generic target or sample rate.
Follow the air barrier through the building
The difficult points are usually where the air barrier changes material or is interrupted. Service entries, floor zones, loft hatches, external-wall electrical work, drainage, ducts and boxing all need a known detail and somebody responsible for checking it.
A sealant tube on site does not establish continuity. The team needs the detail, compatible materials and access to the area before it is hidden.
Prepare a safe and complete test condition
Check that windows and external doors can close, temporary openings are agreed with the tester and the dwelling can be accessed safely. Keep the plot, address and final drawings ready. If a detail remains open because another trade needs access, discuss it before the test rather than discovering it during setup.
Keep the result with the completion record
Retain the test report, plot reference, any follow-up actions and the final value used in the project output. Where a site has repeated types, record the unit actually tested and any relevant differences. A good result without a clear record can still create a handover query.
Mark up the current drawings
Identify the intended air-barrier line and list every expected penetration or transition.
Walk the dwelling with the relevant trades
Check exposed details while they can still be corrected without opening completed work.
Confirm the tester's brief
Give the plot reference, contact, access position, construction status and agreed test date.
File the evidence promptly
Put the report and any action record with the calculation and completion information for that dwelling.
Frequently asked questions
Can this guide confirm that a dwelling will pass an air test?
No. It helps a site team organise the work before testing. The installed construction, test method, project target and final assessment route determine the outcome.
When should an air test be booked?
Book when the project programme can support the agreed test condition and the key construction details can be checked. Confirm exact readiness with the tester for the dwelling and test method.
Does one tested plot prove every plot is ready?
No. Repeated house types can still have different penetrations, damage, sequencing and records. Keep plot-specific checks and evidence.